For years, the honest answer to “how do I record my Mac’s own audio?” was “install a virtual audio driver and fiddle with Audio MIDI Setup”. QuickTime only records the microphone, and the screenshot tool had no system audio option.
That changed with macOS 27 Golden Gate, which added an “Include System Audio” option to screen recordings. It’s still not the right tool for every job, so below are four methods, what each is good for, and how to get a transcript out of the result.
Full disclosure: I build TranscribeX, which records app audio for meetings. I use the free methods below myself for one-off recordings.
Which method to use
- macOS 27, one-off recording: press ⌘⇧5, choose Options → Include System Audio. Free, nothing to install.
- macOS 26 or earlier, free: BlackHole, a free virtual audio driver, plus a Multi-Output Device.
- Audio from specific apps, with presets: Audio Hijack ($69).
- Meetings you want transcribed: an app that records app audio and your microphone together, like TranscribeX.
Why a Mac can’t record system audio by default
macOS treats sound going out (speakers, headphones) and sound coming in (microphones) as separate devices. A recording app can only pick an input, and there’s no built-in input that carries what the Mac is playing. That’s why QuickTime’s “New Audio Recording” only offers microphones.
There are three ways around it: a newer macOS feature that captures system audio directly, a virtual audio device that loops output back in as an input, or an app with permission to capture other apps’ audio. Since macOS 15, that permission has its own entry in System Settings → Privacy & Security → Screen & System Audio Recording, where you can allow an app to record audio only, without screen access.
Method 1: the macOS 27 screenshot tool (free, built in)
If you’re on macOS 27 Golden Gate or later, this is the fastest option.
- Press Shift-Command-5 to open the screenshot toolbar.
- Choose Record Entire Screen or Record Selected Portion. A small selection is fine if you only want the sound.
- Click Options and select Include System Audio. Pick a microphone too if you want your own voice.
- Click Record. Stop it with the stop button in the menu bar.
You get a screen recording (a .mov file) with the Mac’s audio in it. That’s perfect for capturing a webinar or a video you’re allowed to save. For audio-only work it’s a little clumsy, because you always get a video file, but transcription apps can read the audio straight from it.
On macOS 26 Tahoe and earlier the option isn’t there. Apple’s support page lists it for macOS 27 or later only.
Method 2: BlackHole (free, any recent macOS)
BlackHole is a free, open-source virtual audio driver. It creates an audio device that passes whatever you send to it straight back out as an input. Combined with a Multi-Output Device, you hear the sound and record it at the same time.
Install it with Homebrew, or download the installer from the BlackHole GitHub page:
brew install blackhole-2chYou may need to restart the Mac before the new device shows up.
Set it up:
- Open Audio MIDI Setup (in Applications → Utilities).
- Click + at the bottom left and choose Create Multi-Output Device.
- Tick your speakers or headphones and BlackHole 2ch. Put your speakers first in the list.
- Right-click the new Multi-Output Device and choose Use This Device For Sound Output.
- In your recording app, choose BlackHole 2ch as the input. In QuickTime, that’s File → New Audio Recording, then the small arrow next to the record button.
Three things trip people up. The volume keys don’t work on a Multi-Output Device, so set the volume beforehand. This setup records the Mac’s audio but not your microphone; to get both you need an extra Aggregate Device. And when you’re done, switch your sound output back to your speakers, or you’ll wonder later why the volume keys are dead.
Method 3: Audio Hijack ($69)
Audio Hijack from Rogue Amoeba is the polished paid option. Instead of rerouting all of your Mac’s sound, you drag together a small pipeline: pick one app as the source (say, Safari or Zoom), add your microphone if you like, and choose where the recording goes. You can schedule recordings and save presets.
A single license is $69 on Rogue Amoeba’s store, and you can try it before buying. It’s the right tool if you record audio from apps often, for podcasts or archiving streams, and don’t need transcription built in.
Method 4: record meetings with app audio and your mic together
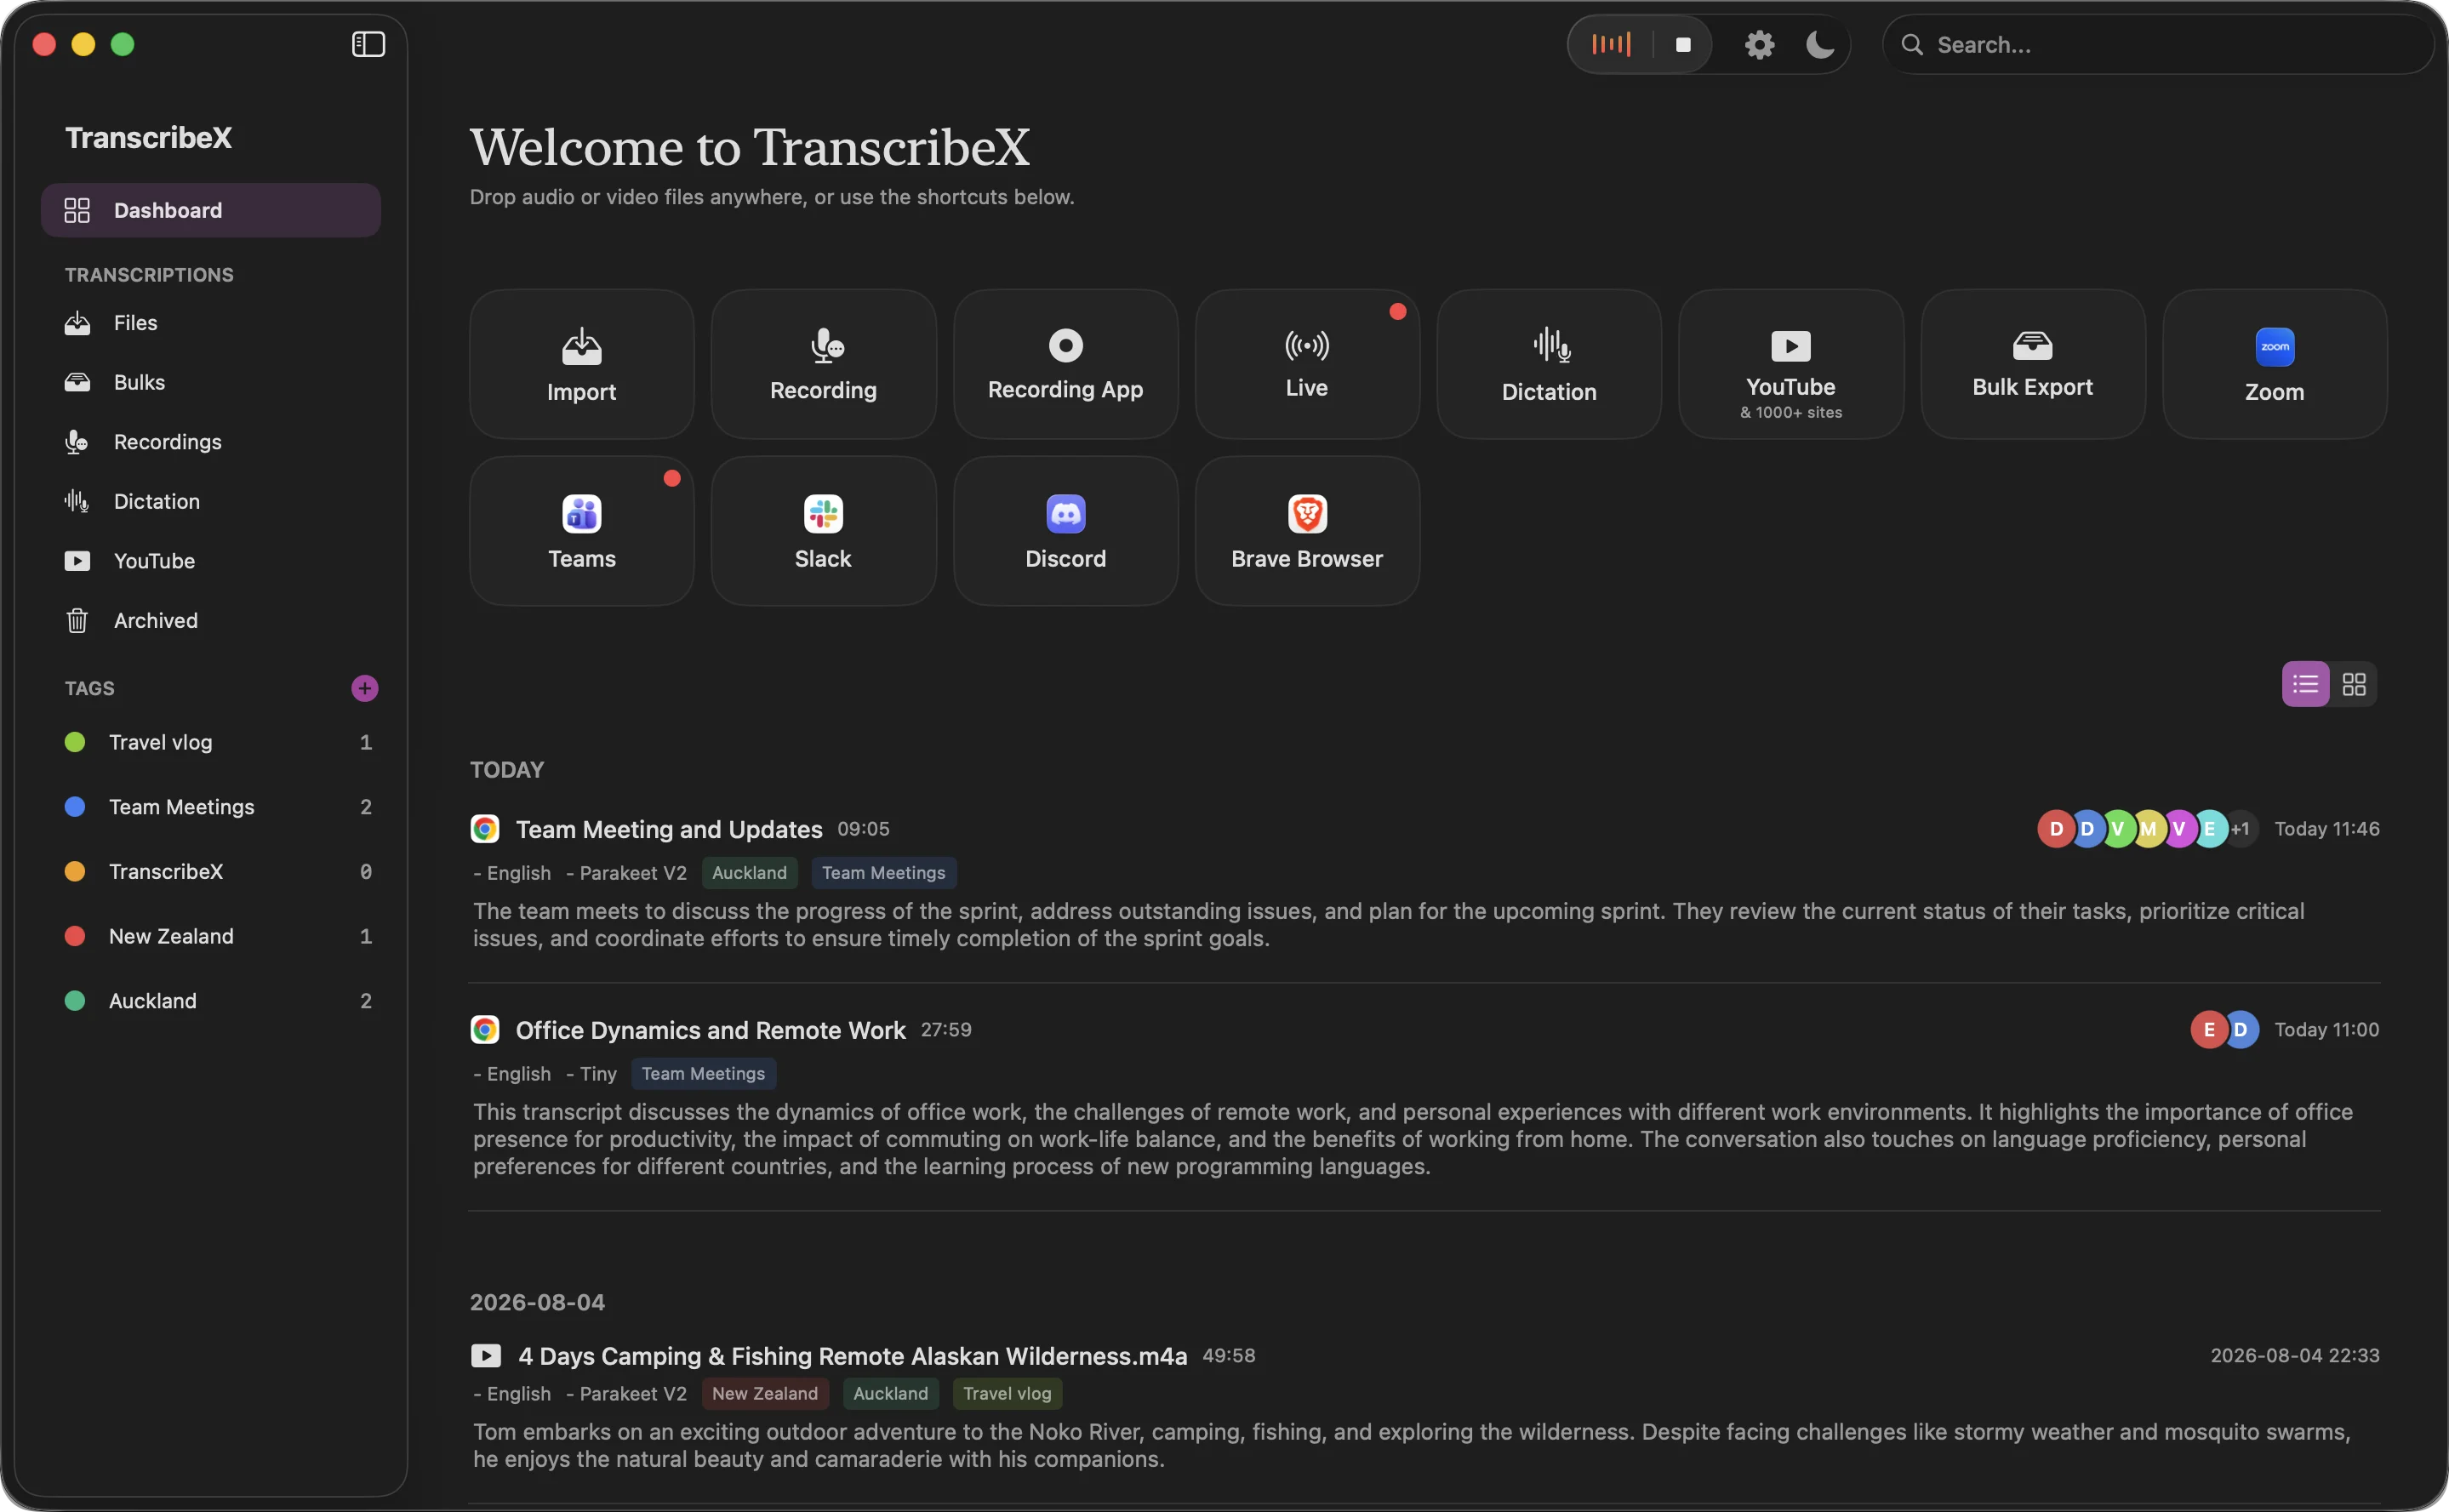
Meetings are the most common reason people search for this, and they have a specific problem: you need the other people (system audio) and yourself (microphone) in one recording, ideally starting automatically when the call starts.
The methods above can do that with some setup. A meeting recorder does it by default. TranscribeX Pro, for example, uses the macOS audio-recording permission to capture any app’s audio plus your mic, with no virtual driver. It detects calls in Zoom, Teams, Google Meet, Slack, Discord, Webex, browsers and any app you add, records audio or audio plus video, and transcribes the result on your Mac, without a bot joining the call.
Recording methods compared
| Method | Cost | Setup | Records your mic too | Output |
|---|---|---|---|---|
| Screenshot tool (macOS 27+) | Free | None | ✓Optional | Screen video with audio |
| BlackHole + Multi-Output | Free | Driver install, Audio MIDI Setup | ~Needs an Aggregate Device | Audio, in any recording app |
| Audio Hijack | $69 | Build a pipeline once | ✓ | Audio files, per app |
| TranscribeX Pro | $39 once | Grant audio-recording permission | ✓ | Audio or video, plus transcript |
How to transcribe a system audio recording locally
Once you have the file, you don’t need to upload it anywhere to get text out of it.
- Download TranscribeX and open it. No account needed.
- Drag in the recording. It reads .mov and .mp4 video as well as mp3, m4a, wav and other audio formats.
- Pick a model. The free version includes Whisper Tiny and Apple’s on-device model, with no time limit.
- Export the transcript as TXT, or on Pro as SRT, VTT, PDF, Markdown and more.
Everything runs on your Mac, so it works offline and the recording never leaves your machine. If the recording has several voices, Pro can split the transcript by speaker.
“great little app—get off the cloud ;)”
Recording system audio on Mac: FAQ
Can a Mac record internal audio without extra software?
On macOS 27 Golden Gate or later, yes: the screenshot toolbar (Shift-Command-5) has an Include System Audio option for screen recordings. On macOS 26 and earlier there is no built-in way; you need a tool such as BlackHole or Audio Hijack.
Why doesn’t QuickTime record system audio?
QuickTime’s audio recording only lets you choose an input device, and macOS has no built-in input that carries the sound the Mac is playing. A virtual device such as BlackHole adds one.
How do I record system audio and my microphone at the same time?
In the macOS 27 screenshot tool, select both Include System Audio and a microphone in Options. With BlackHole, create an Aggregate Device that combines BlackHole and your microphone. Meeting recorders such as TranscribeX capture both automatically.
Is BlackHole safe to install?
BlackHole is open source, free and widely used by musicians and podcasters. It installs an audio driver, so download it from its official GitHub page or Homebrew, and remove it with its uninstaller if you no longer need it.
How do I record a Zoom meeting’s audio on Mac?
Zoom’s own recording needs the host’s permission. Recording the Mac’s audio with one of the methods above works as a participant, but tell the others and get their consent first. More on Zoom transcription.